An often overlooked part of chinchilla ownership is the cleaning. Let’s face it: it’s not the cutest thing to talk about, but it’s an absolutely crucial part of caring for your chinchilla and maintaining their continued well-being. Everyone’s cleaning schedule varies depending on their own routines and lifestyle, but I want to share my daily cleaning routine with you. This is also a great post to help new or potential owners understand chinchilla basics a little better in order to best plan for chinchilla ownership.
It’s important to touch on why cleaning is important. It may seem self-explanatory, and it is, but it’s always good to revisit the “why”s of it all. Not only is good hygiene attributed to a higher quality of life, but cleanliness can often prevent illness and infection, leading to better health and perhaps even a longer lifespan for your chinchilla.
To start, I have tried different cleaning routines and techniques, depending on the cage structures and how busy my life gets. Luckily, I work remotely and am able to spend a great deal of time around my chins, which has allowed me to streamline the techniques I use to care for them. Once your chinchilla routines have been developed and well-practiced, you can be confident of your ability to do your job as a chin-parent regardless of the type of day you have. Not everything will work right away, and sometimes you’ll need to step back and reevaluate your ratio of energy input to cleanliness output, but that’s all part of being a parent and doing the work it takes to make your life easier, minimizing effort and maximizing reward.

My chinchillas are the sleepiest from 11 AM to 3 PM, making that window of time the best for cleaning. My first step is to assess the damage and complain with a seasoned acceptance of reality. I’ll remove all loose chew toys and cuddle buddies to make sure they are safe from the cleaning process. Then, I’ll use my paws to gather and discard all loose hay that has fallen on their cage floor, as pieces of hay aren’t part of my vacuum hose’s vocabulary. The last in-cage step is to vacuum out all poop to the skeptical pirate eye of a half-sleeping chinchilla. I use a bagless upright vacuum with a stretchable hose, although shop vacs work just as well. I advise against handheld vacs, as I’ve yet to find one able to adequately accomplish even one session of light cage cleaning. Finally, I’ll sweep up the floor around the cage, collecting fallen poop and hay. This also a great time to replace litter box bedding or refresh hay and pellet supplies. For all four cages, this process takes roughly 45-60 minutes a day. While it seems like a lengthy process, it’s much more preferable to me than allowing a larger mess to accumulate, both due to my unwillingness of having to tackle a larger mess and because I truly believe this daily cleaning routine is a chore of parental responsibility that I owe to my chins (although I do dream of them one day being able to clean their own spaces. And talk to me. And fully comprehend a chin-mama’s struggle).

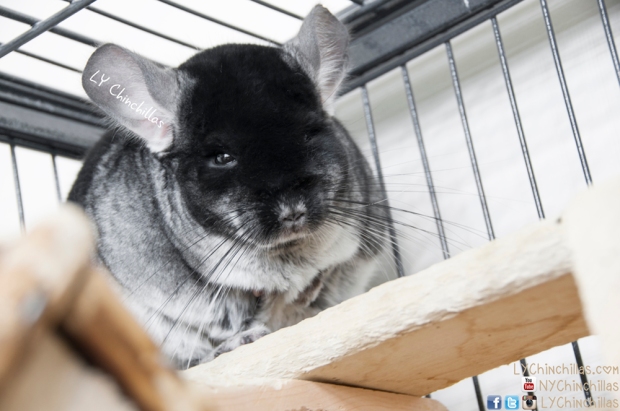
Before Cleaning: The Daily Mess

After Cleaning: The Restoration
If I’m not able to make this time bracket, I’ll schedule in cleaning at a time that’s more convenient for that day. I have a smaller cage space with a running wheel that the chins use for exercise sessions, time outs, or these types of cleaning sessions. It’s a brief 10-15 minutes in which they can enjoy (or abhor) the smells of the other chins that have occupied the cage before them, burrow under an excess of bedding, or go for a jog. I also keep a water bottle and bowl of pellets adhered to the cage, just in case someone wants a quick bite or sip.

On a weekly or bi-weekly timeline (depending on which chins are litter trained), I’ll wash out their fleece liners with hot water and vinegar. I hand wash and air dry, as I don’t have my own laundry unit (this is New York City, after all) and I’d rather be hands-on with the chinchilla maintenance process. During this time, I also clean the steel pan foundation of each cage with a water, vinegar, and lemon mixture (50% water, 40% vinegar, and a splash of lemon). Lemon and citrus on their own are harmful to chinchillas, but the acidity in lemon juice can be great for getting out the grime – it’s necessary to thoroughly rinse and dry all items that use this mixture, rendering the mixture chinchilla-safe. It’s important to maintain all cage items, including fleece, pans, platforms, ledges, and accessories – it’s the surest way to get the most value out of your cage investments!

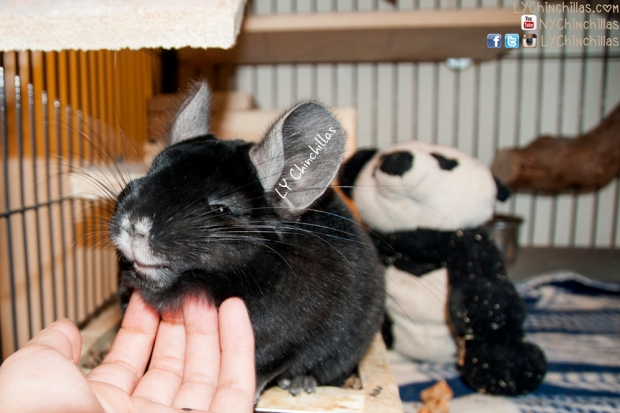
It’s my theory that the time spent with my chinchillas is never enough, and that bonding practices are forever tasks and never a lost energy. As a chin-parent, your work is never done! Don’t get overwhelmed or discouraged; this is all part of the beautiful journey of chin ownership. Cleaning is a really amazing time to check your bond with your chinchillas, building trust and allowing your chins to familiarize with your presence. This ritual can also be critical to build a baseline level of interaction; over time, you’ll become familiarized with daily behaviors and potential aberrations that require further observation or attention. Eventually, you’ll even bring comfort to them with your shared routine. You’d think that a screeching vacuum and clanking human would illicit a greater reaction than a slight eye peep, but all my chinchillas are so comfortable with our daily routine that they are happy to slumber luxuriously on despite their maid’s – err, I mean mom’s struggle. 🙂
LY Chinchillas Treat Donation
Donate healthy, delicious treats to LY Chinchillas to help keep our content going!
$5.00


