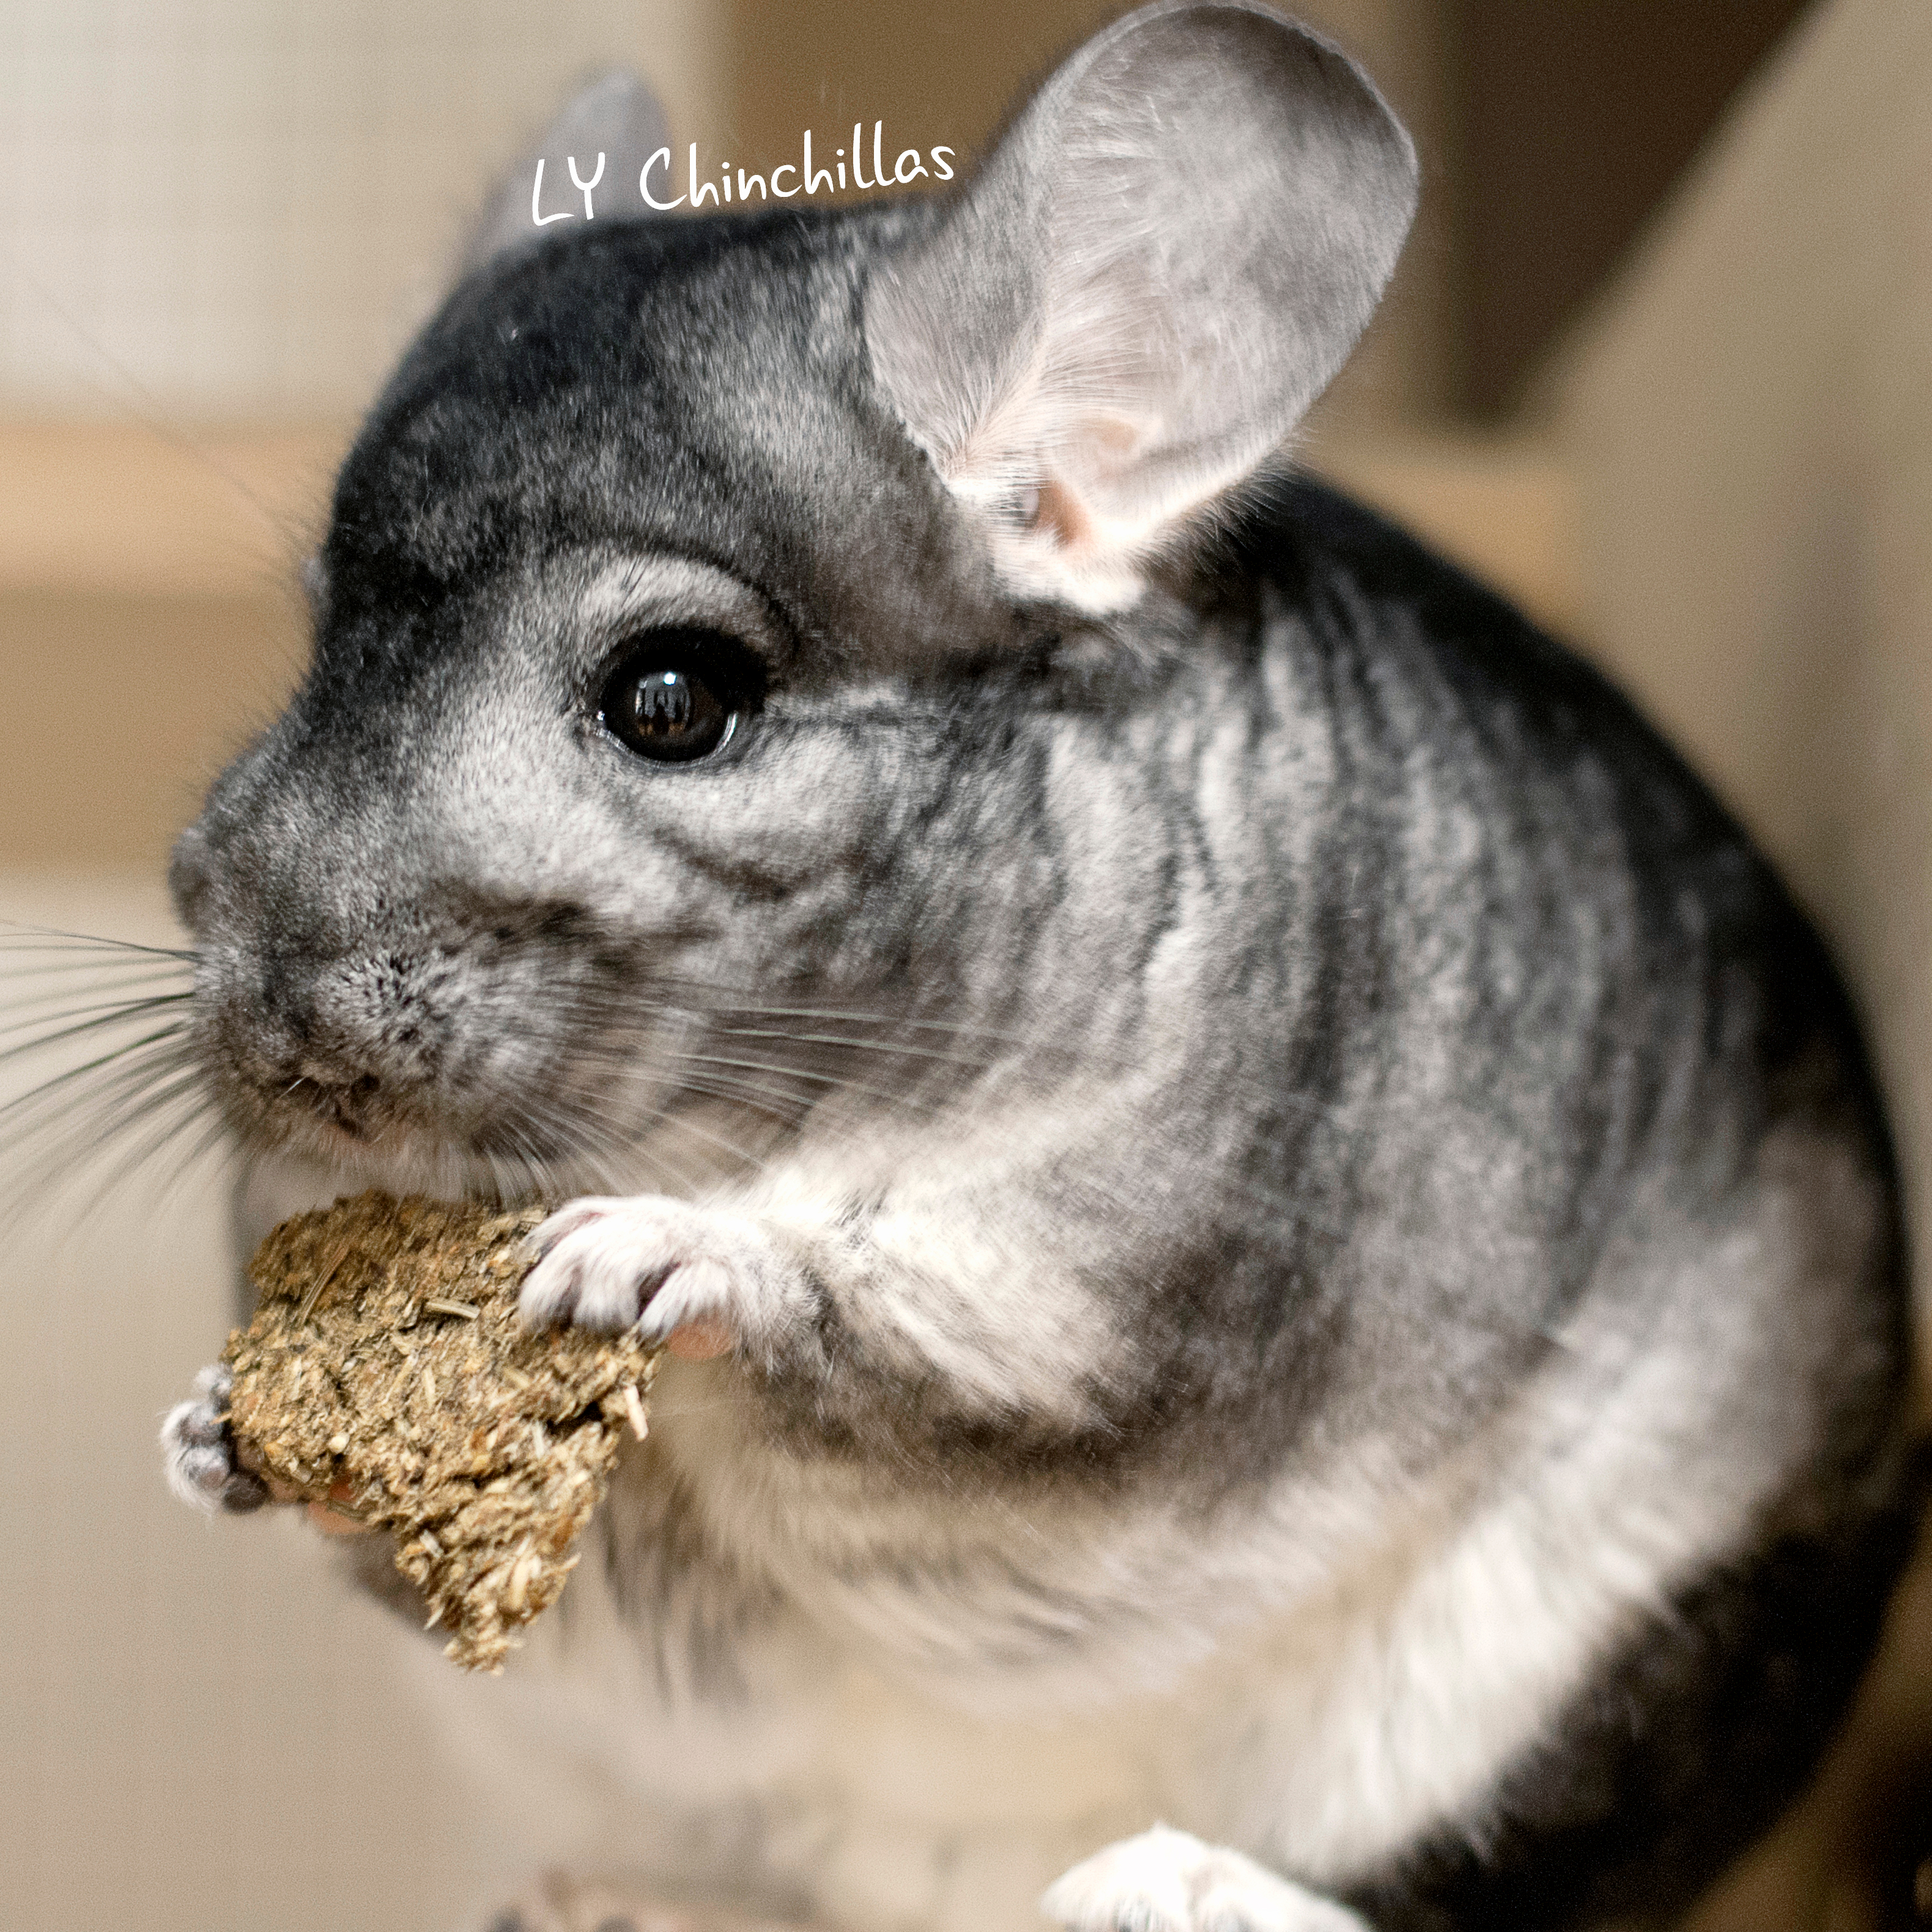
Hanging toys: the cutest, most heartfelt way to watch a chinchilla struggle without a twinge of guilt! They’re also dental-friendly treats that keep your fluffs engaged and entertained during long work or school days. I love chinchilla-safe woods and chews because they are a fabulous non-food way to make your chins happy and show them that you care – not that they need even more from you to be spoiled with! But really, just one more chew toy couldn’t hurt.. (and seriously, it couldn’t!) 😛 So, today’s post is all about how to make DIY hanging toys!

There are only a handful of tools that are needed to make a very simple hanging toy:
- Chinchilla-Safe Woods and Chews, 6″ or Smaller
- Drill with Thin Drill Bit
- Solid Craft Wire or Pliable Metal Wire
- Hook to Adhere Toy to Cage Bars
- Pliers to Cinch Wire Ends
- Wire Cutter or Strong Scissors to Cut Wire

The first step is to gather your goods! We use apple sticks, pear sticks, chunks of pine, and vine twirls – but some all-time favorites include natural loofah, blocks of pumice stone, shredder tape, and more! Feel free to read about chinchilla safe woods and chews to get some ideas for your own custom toys. Over time, you’ll come to realize which woods or chews your chins prefer. Another great tactic is to use the barkless wood that your chins have already partially demolished; it’s a thrifty way to re-purpose the seemingly unwanted sticks (they’ll be slower to go at them, but they’ll begrudgingly get to it eventually). Then, I drill through the center of the wood, but wood vendors tend to sell pre-drilled wood for easy toy-making.

The next step is to cut your wire to the desired hanging length, adding on a little extra just in case. I typically cut the wire to 12″ and remove any extra length prior to finalizing the toy. It’s important for your wire to be made out of a solid metal to dissuade exploratory chewers (although they’re typically too preoccupied with the hanging toy to consider munching on the wire). Another great way to put your mind at ease is to either fill the wood to the very top so that there is no exposed metal, or to hang the toy strategically so that the exposed area is not reachable. I have seen other varieties in toy-making such as seagrass or chains, but it ultimately depends on what you know to be the safest, best option for your particular chins. So far, there have been zero issues with our construction and the final products are spot-on for my five furry babies.

For the top of the toy, I’ll wrap the wire tightly around the hook, using pliers to tuck the edge away. Since we go through faulty glass water bottles every few months, I make sure to keep the hardware for hanging toys – the hooks are perfect for the cage bars, because they’re made for just that! Another good alternative would be shower hooks, as they’re self explanatory and easy to work with.

The funnest part for me is next: to string all the toys on the wire in my favorite order! I like to mix up the different woods and chews to offer some variety for the chins – plus, they look really nice when they have some diversity to them.

The trickiest and final part is to close off the hanging toy. If you’re using a thicker wire, you can simply use pliers to close off the toy in a “U” with the wire and call it a day. Using a thinner wire is easier to work with initially, but is a tad tougher to close off. The way I do it is to string the wire through the last stick – enough slack for the wire to wrap around the stick twice – and thread the wire through the hole a second time, pulling the wire flush to the stick. Because this type of craft wire is so malleable, it will secure itself easily after being pulled and be unable to be readjusted without pliers. The last step is to cut the excess wire flush with wire cutters or strong scissors (although after a certain amount of practice, you’ll be able to calculate the perfect amount of slack not to need to cut the wire at all).


And voilà! There we have it – hang away and watch your happy chinchillas struggle with sheer delight! 🙂 The more toys you make, the more endless variety you’ll find that there is! You can make toys in all different sizes and shapes – the fun is being able to take some time out of your day and do something that takes your mind off of how much money, time, and energy you spend on your chinchillas by creating something lovingly by hand for their spoiled enjoyment!


LY Chinchillas Treat Donation
Donate healthy, delicious treats to LY Chinchillas to help keep our content going!
$5.00


