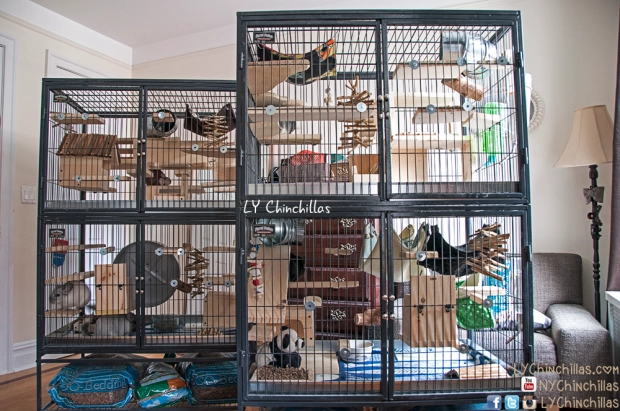
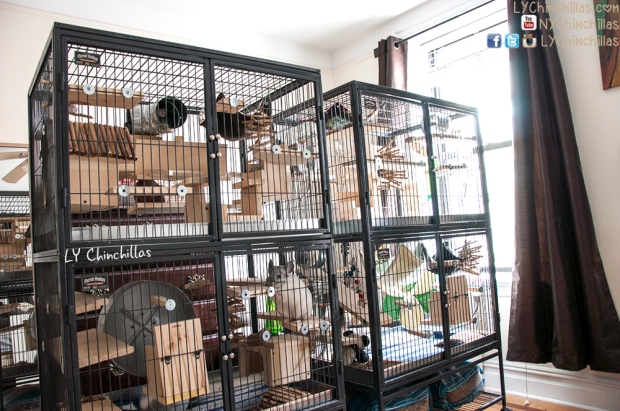
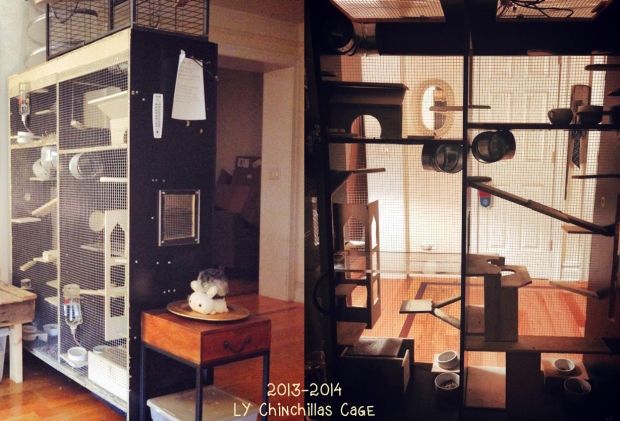
In tandem with recent posts about Ferret Nation Cages and How To: Build a Custom Chinchilla Cage, this post is all about cage details – all the necessary components that help make your chin’s cage feel like a meaningful, functioning home! Although there are online vendors for listed accessories, all items that are realistically able to be made at home have been described in a DIY manner.

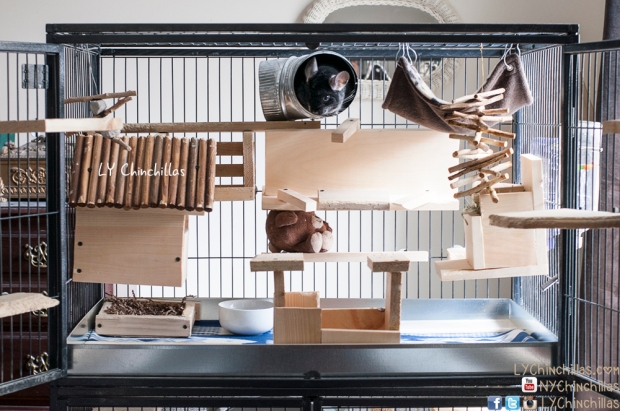
Platforms & Ledges: I suggest keeping platforms 4-5″ wide, installed under 6” apart height-wise for safety. Any higher, and a fall could potentially hurt your chin. And don’t forget ledges – fun shapes for corners, sides, and all around. Sizes can vary, from 3″ upward. The hardware part is simple: screws, washers, and a drill will keep your items snug and secure.

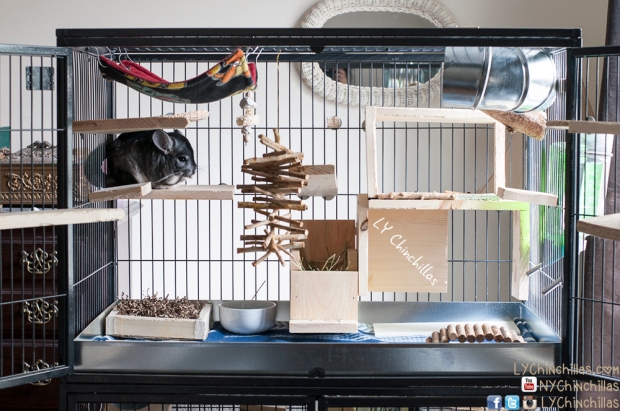
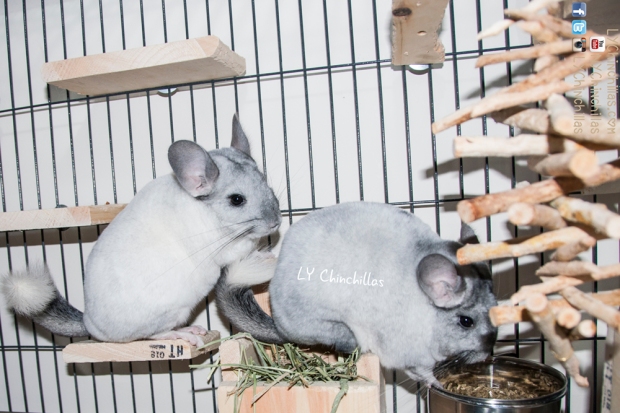
Hay Feeders: Hay is an integral part of any healthy chinchilla diet, and it gets everywhere! Our cages have DIY hay feeders, complete with a standing perch for easy eating. Connected with two sturdy hooks, these feeders are a chin favorite, adhere to horizontal bars with ease, and keep the mess minimal!
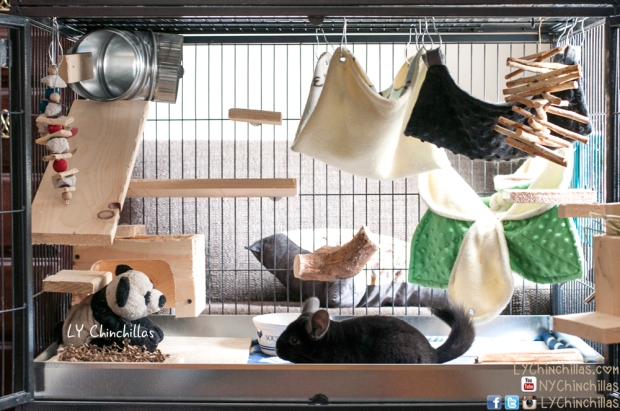
Food Bowls: We recently switched from bottom-heavy bowls to stainless steel bowls that adhere directly to cage bars. It’s been a wonderful transition, as the stainless steel bowls are sleek, safe, attractive – and most of all, easy to use.

Litter Boxes: Read this post all about DIY litter boxes and litter training! Litter boxes can be a tidy addition to your chin’s cage, encouraging your pets to maintain their space and keep clean. Of course, not all chinchillas can be litter trained, but it never hurts to try.

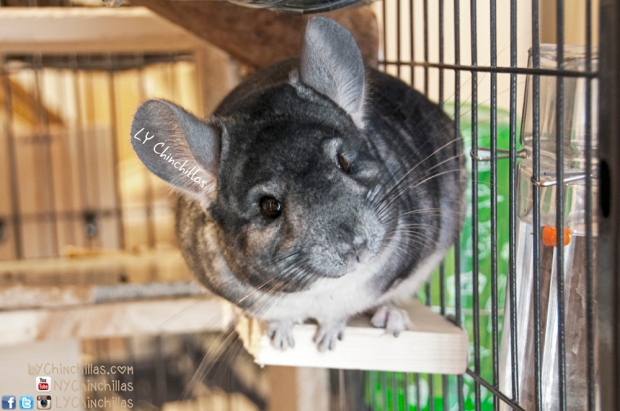
Huts & Houses: The fluffs love hiding houses, tight corners, and crunching down on the very infrastructure they inhabit. The best way to inhibit this type of behavior is by encouraging it in a safe, healthy manner! Our hideaways are made from kiln-dried pine and offer privacy-seeking chins a lovely respite from the craziness of their peaceful environments (because we all know being a well-cared-for chinchilla is exhausting). 😛

Stone Cooling Tiles: Our chins prefer marble or granite cooling tiles; they are a great accessory for the active buggers who dart all over their cages, working up some heat! The tiles offer temporary relief for warm tummies, but only act effectively if hand-in-hand with low temperatures or air-conditioning.
Hanging Toys: Hanging toys are quite simple to make, and shockingly fun to watch as your chins swing them from side to side in impatient demolition attempts. Some drilled apple sticks, chunks of kiln-dried pine, and pumice stones make for a really great time – especially for the attention deficit types!

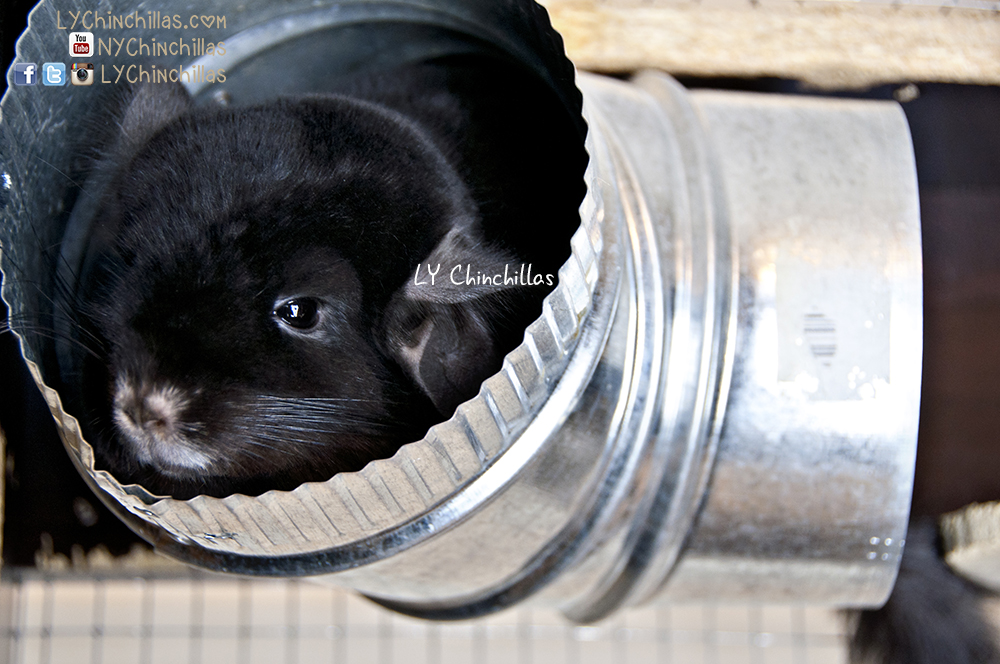
Hammocks and Tubes: While not every chin enjoys hammocks, a lucky few really do love lounging in comfy floating fleece blankets. There’s nothing like a softly swinging sleepy chinchilla to bring a smile to your face! Tubes are also great accessories, offering a round retreat for your fluffballs. I use galvanized steel ducts, which have rounded steel that can be used safely without fleece coverings. Other tube options include PVC or cardboard tubes with snug fleece covers to prevent harmful ingestion.
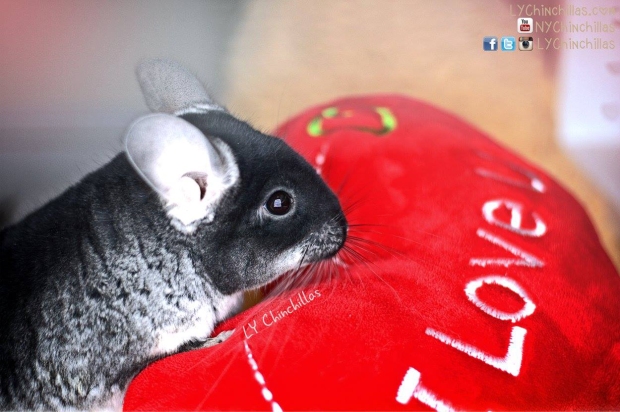
Cuddle Buddies: Fleece teddies can be perfect for solo chinchillas! As long as the cuddle buddy has fine stitching and good construction, your chin will be snuggling up next to their new friend (or tossing it around) in no time.
Water Bottle: Water bottles are the bane of my existence. As I’m living in the city, I do not have an adequate setup for a water pump system. So, I run through glass water bottles every few months. I always have two water bottles in each cage, a 32 oz. and an additional 16 oz., just in case. Currently, I use Kaytee, Living World, and Lixit (although I’ve tried more than a handful of brands), and simply cross my fingers. I have never understood why water bottles do not have any type of manufacturer’s warranty, as they are often faulty and fail to stand the test of time.

Running Wheel: Although chinchillas do not require a wheel, it is nice to have one for exercise purposes. My chins have a running wheel in a separate playtime cage, which is an excellent way to encourage a weekly allotment of exercise while teaching them to manage their stress when being introduced to different environments.

Fleece: The safest fabric for chins, fleece is a good way to cover up harmful plastics in your cage or line the bottom of your cage with a pretty pattern. While fleece is not necessarily easier to clean than bedding, it does help make your chin’s home more personal. If your chin is litter trained, I suggest washing fleece every 2 weeks with a hot water and lemon juice/vinegar mixture. If your chin is not litter trained, fleece should be washed weekly to prevent urine buildup. It’s important to note that while most chins do not eat fleece, some will try! If that’s the case, then fabric should be removed immediately to prevent consumption.

Custom Steel Pans: Galvanized or stainless steel pans for your chin’s cage are an awesome investment – they are easy to manage and long lasting with proper care. Swapping out plastics for steel is a simple way to prevent harmful ingestion, blockage, or impaction that can come with gnawing malleable plastics.

As always, try to incorporate safe woods into your chin’s environment, and understand the importance of choosing wood over plastic. Be sure to always have an air-conditioning unit (or two!) during warm months, keep a regular dusting routine, and monitor your chin’s weight for changes in consumption in order to catch early warning signs of illness. 🙂

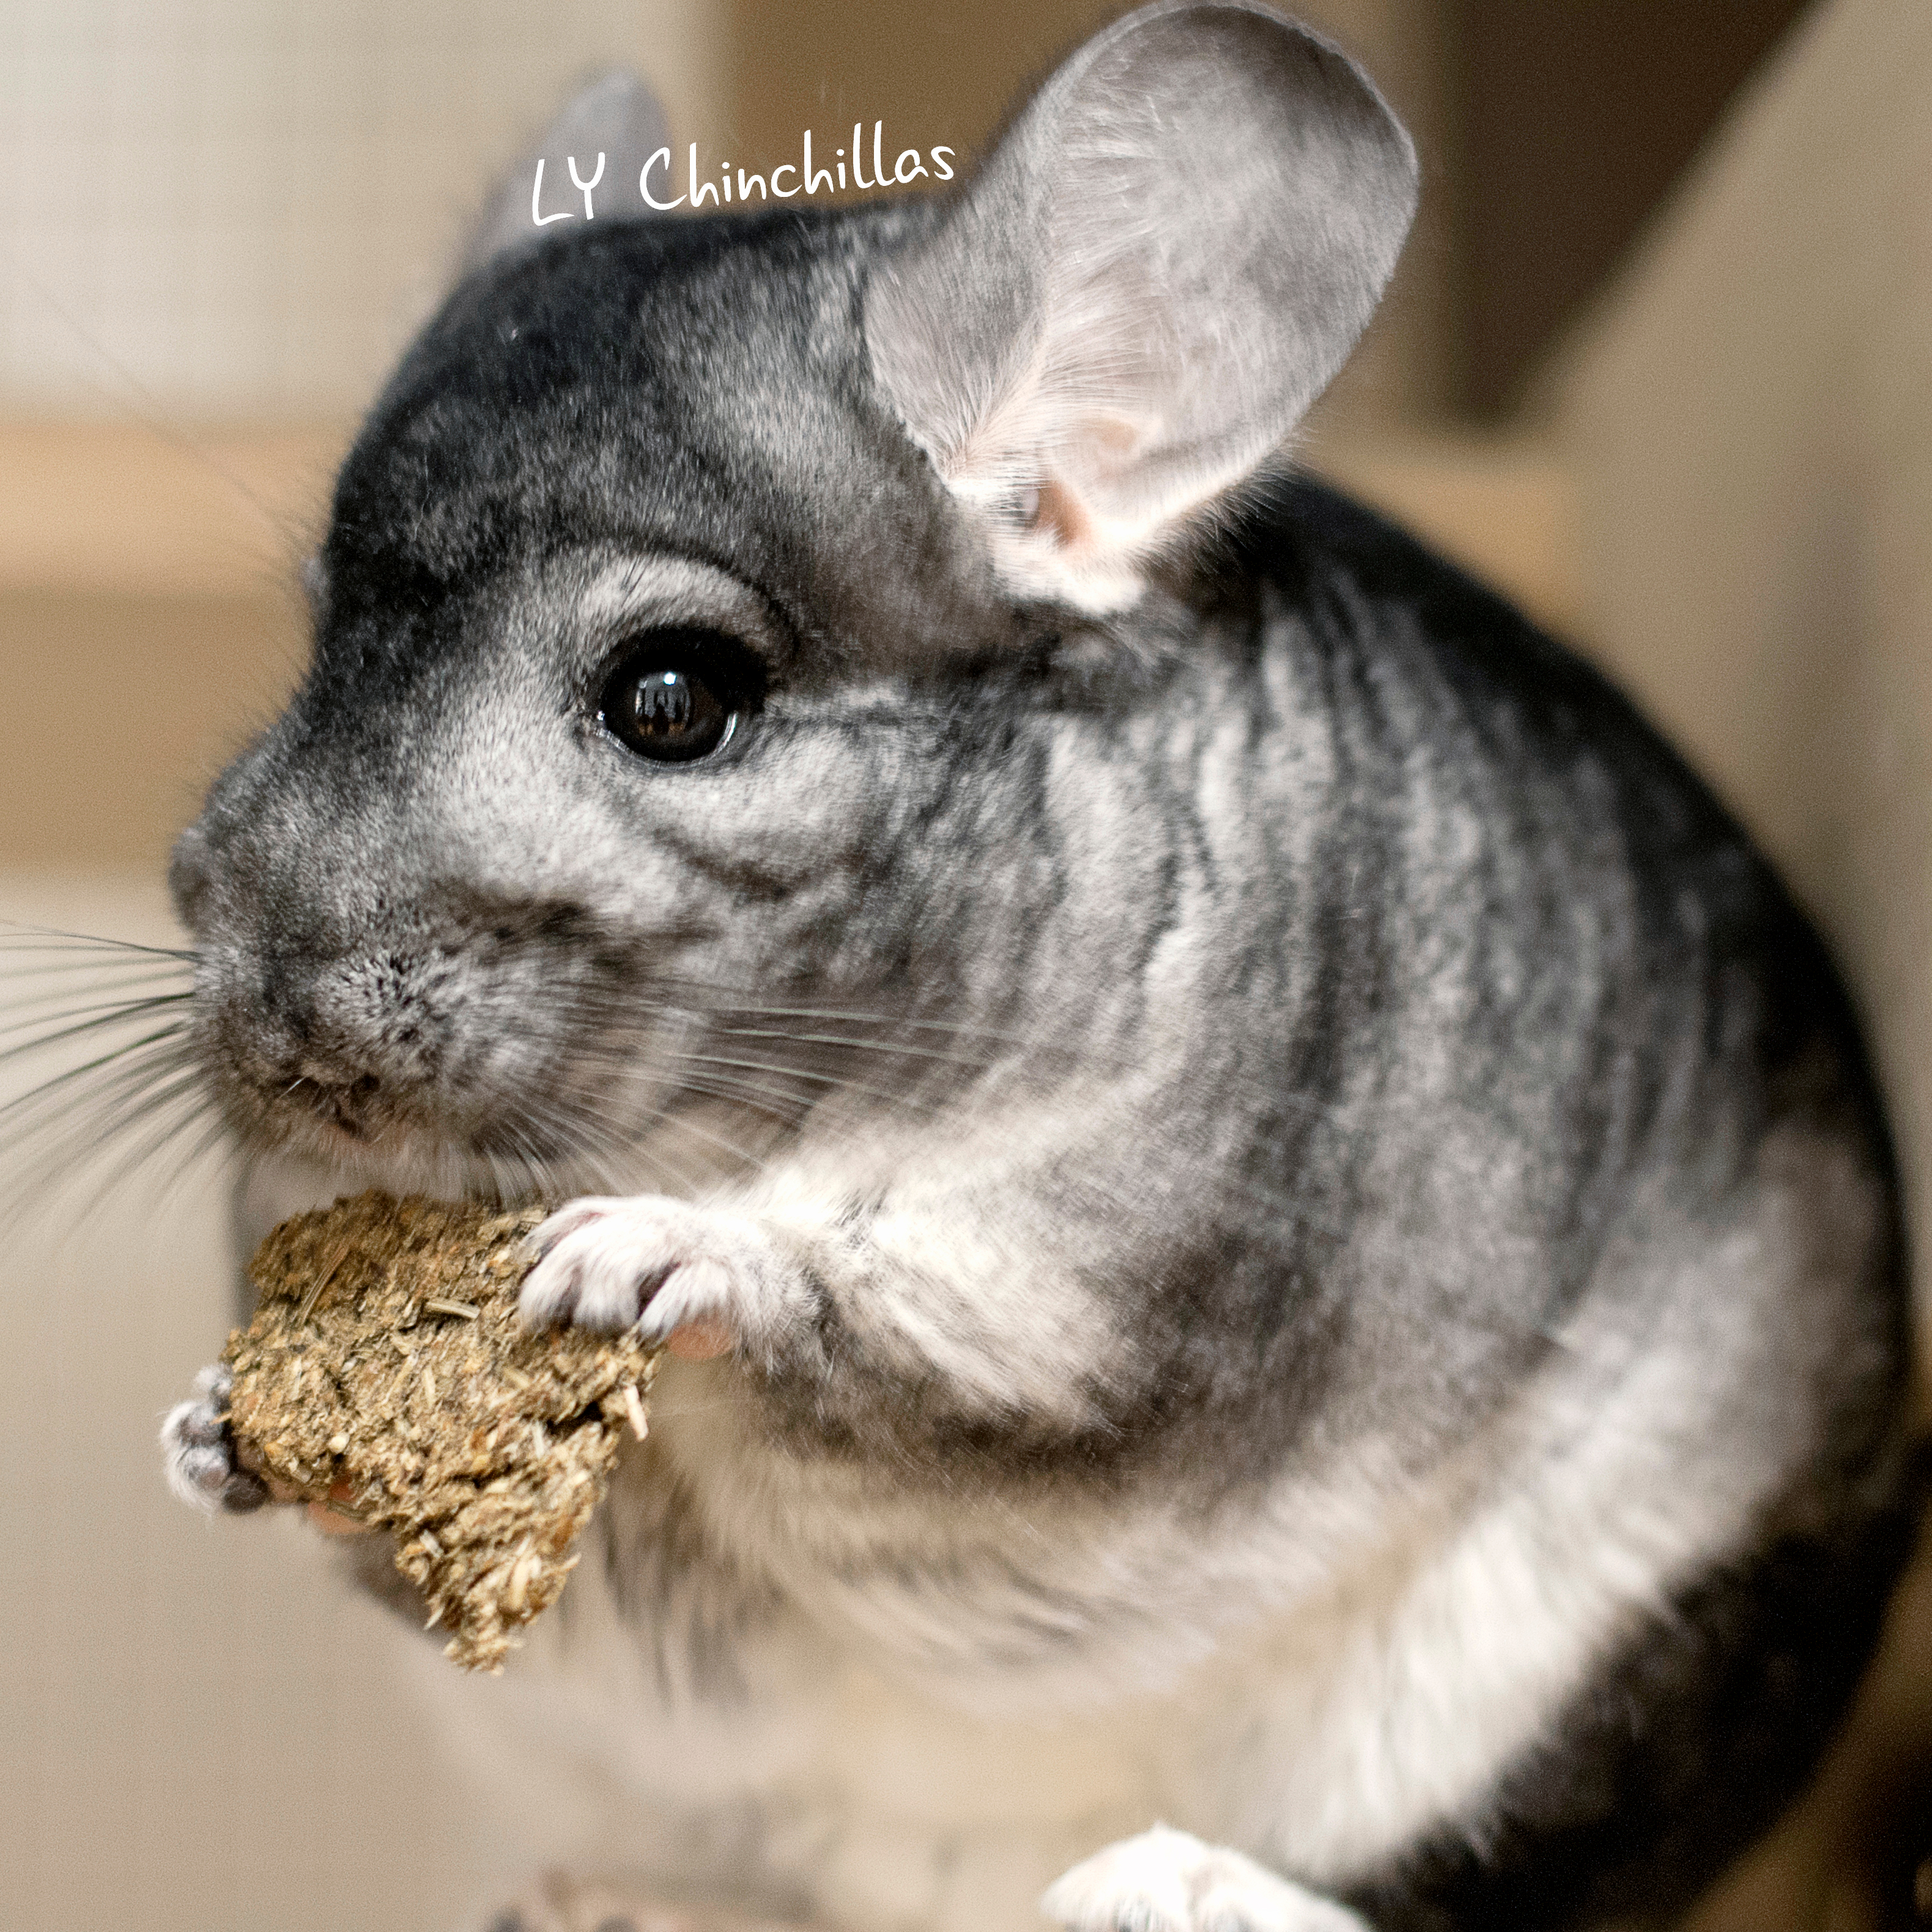
LY Chinchillas Treat Donation
Donate healthy, delicious treats to LY Chinchillas to help keep our content going!
$5.00